Devops Tutorial
개요
이전 실습들을 모두 수행했다면 이번엔 EKS로 환경 구성, 어플리케이션 배포를 할 것이다.
Kuberntes 는 대규모 컨테이터 환경에 적합한 컨테이너 오케스트레이션 오픈소스 소프트웨어이다.
그리고 AWS 에서 제공하는 EKS(Elastic Kubernetes Service) 를 통해 효율적인 환경 구성 및 관리가 가능하다.
사전 준비
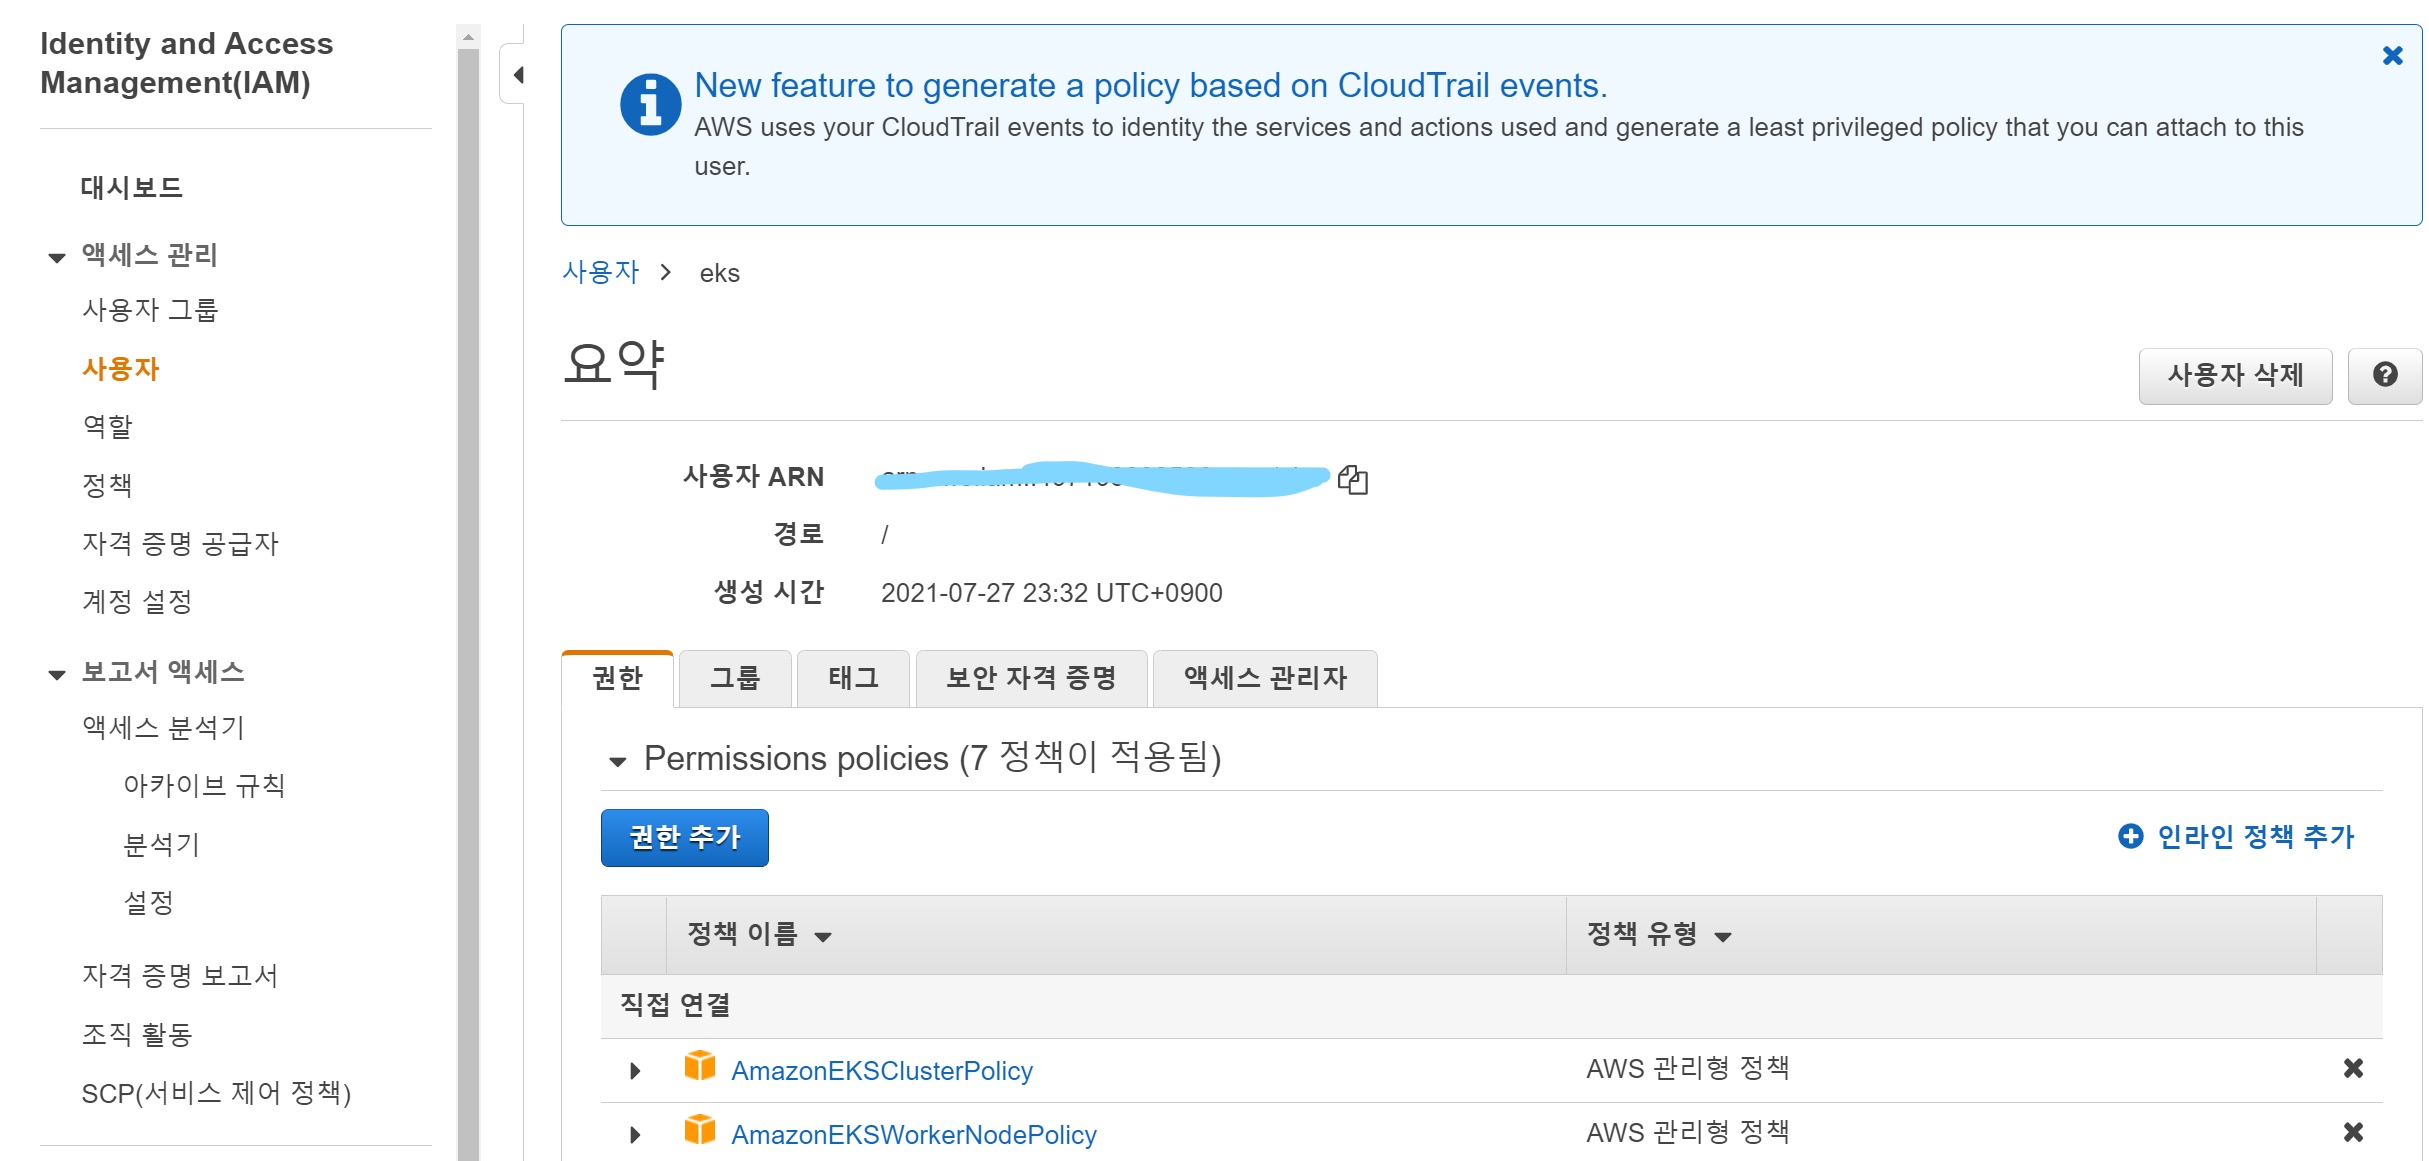
IAM USER 권한에
AdministratorAccesspolicy 권한 부여
EKS 구성 하기
EKS는 Root User의 접근을 권장하지 않으며 EKS을 관리하기 위한 권한(Kubernetes RBAC authorization)을 EKS를 생성한 IAM 엔터티(user 혹은 role)로 부터 할당을 시키기 때문에 IAM user 혹은 role를 사용중이지 않다면 필수로 IAM 엔터티를 생성하고 EKS 생성 역할을 부여 해야한다.
IAM User 생성
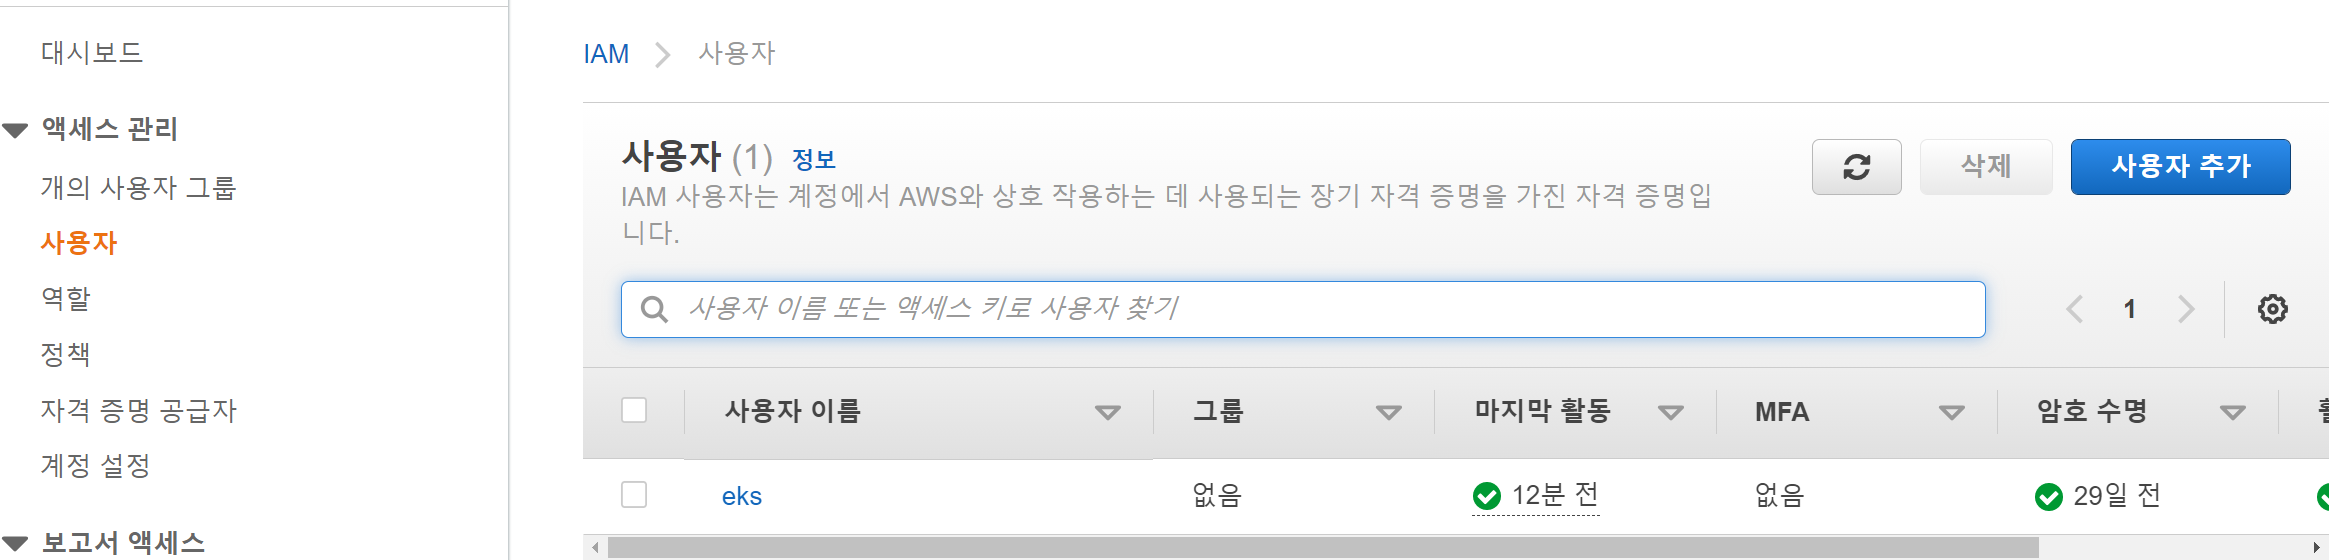
AWS Configurations
aws configure
명령어와 Access Key를 통해 사용자를 지정 할 수 있다.
현재 세션의 IAM 엔터티 확인 방법
aws sts get-caller-identity
명령어를 통해 확인 가능
Install eksctl and kubectl
Deploy EKS Cluster
EKS 배포를 위한 구성 정보 파일 (eks-cluster-config.yml) 작성
eks-cluster-config.yml
---
apiVersion: eksctl.io/v1alpha5
kind: ClusterConfig

metadata:
  name: test-eks-cluster
  region: ap-northeast-2

availabilityZones: ["ap-northeast-2a", "ap-northeast-2c"]

iam:
  withOIDC: true

managedNodeGroups:
- name: test-eks-workers
  desiredCapacity: 1
  iam:
    withAddonPolicies:
      albIngress: true
  instanceTypes: ["c4.large","c5.large"]
  spot: true
#  instanceType: t3.small
#  ssh:
#    publicKeyName: "<your key pair name>"
#    https://ap-northeast-2.console.aws.amazon.com/ec2/v2/home?region=ap-northeast-2#KeyPairs:

cloudWatch:
    clusterLogging:
        enableTypes: ["audit", "authenticator", "controllerManager"]
eksctl create cluster -f ./eks-cluster-config.yml
명령어 실행, cluster 생성 (15~25분 가량 소요)
EKS Cluster 접속 확인
Output
[✔]  all EKS cluster resources for "test-eks-01" have been created
[ℹ]  nodegroup "tes-eks-workers" has 1 node(s)
[ℹ]  node "ip-192-168-27-236.ap-northeast-2.compute.internal" is ready
[ℹ]  waiting for at least 1 node(s) to become ready in "test-eks-workers"
[ℹ]  nodegroup "test-eks-workers" has 1 node(s)
[ℹ]  node "ip-192-168-27-236.ap-northeast-2.compute.internal" is ready
[ℹ]  kubectl command should work with "/Users/kcchang/.kube/config", try 'kubectl get nodes'
[✔]  EKS cluster "test-eks-01" in "ap-northeast-2" region is ready
kubectl을 통해 추가된 node 확인
kubectl get nodes
Application Deployment Using Kubernetes
쿠버네틱스에 Flask app을 배포하기 위해 Deployment manifast 파일 작성
flask-deployment.yaml
apiVersion: apps/v1
kind: Deployment
metadata:
  name: test-flask
  labels:
    app: test-flask
  namespace: default
spec:
  replicas: 1
  selector:
    matchLabels:
      app: test-flask
  strategy:
    rollingUpdate:
      maxSurge: 20%
      maxUnavailable: 20%
    type: RollingUpdate
  template:
    metadata:
      labels:
        app: test-flask
    spec:
      containers:
      - image: ju990828/devopstutorial:latest
        imagePullPolicy: Always
        name: test-flask
        ports:
        - containerPort: 5000
          protocol: TCP
deployment 파일 내용으로 배포:
kubectl apply -f flask-deployment.yaml
배포 내용 확인:
kubectl describe deployment test-flask
정상적으로 Flask app이 배포 되었다면 외부에서 flask app으로 접속을 위해 service를 deployment에 매핑
flask-service.yaml
apiVersion: v1
kind: Service
metadata:
  name: test-flask-svc
spec:
  selector:
    app: test-flask
  ports:
   -  protocol: TCP
      port: 80
      targetPort: 5000
  type: LoadBalancer
service file 배포:
kubectl apply -f flask-service.yaml
배포가 정상적으로 완료가 되면 Pod 정보를 찾을수 있다
kubectl get pods -l app=test-flask
flask app의 경우는 Service 타입을 LoadBalancer로 Endpoint를 외부 노출시켜 접근 가능
kubectl get svc test-flask-svc
Output
NAME              TYPE           CLUSTER-IP       EXTERNAL-IP                                                                   PORT(S)        AGE
test-flask-svc   LoadBalancer   10.100.163.64   acd2f9103b9564eb3asa544282a1dee3-566651492.ap-northeast-2.elb.amazonaws.com   80:31126/TCP   98s
Output 을 통해 확인한 EXTERNAL-IP(LB endpoint) 를 통해 접근 가능 (1~2분 정도 소요 후 정상적으로 작동)
Clean Up
실습 후 EKS 리소스를 정리
eksctl delete cluster --region=ap-northeast-2 --name=<your eks cluster name>